


Step 1: Building Regulations and Current Warehouse System
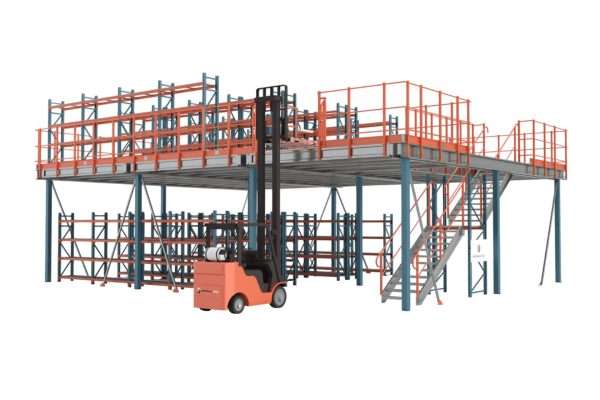
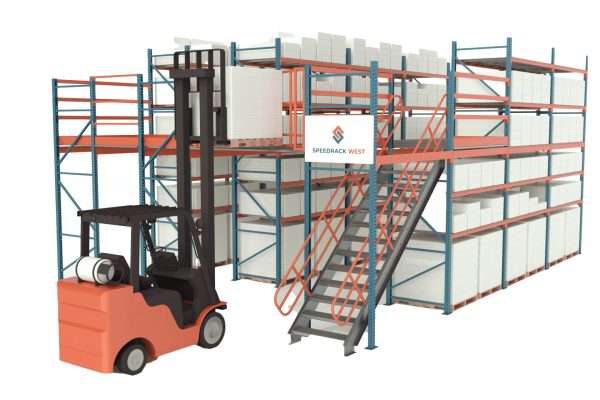
Start by evaluating your current layout. Assess your available floor space, ceiling height, and existing pallet rack setup. If you operate with a pallet rack system, a pallet rack-based mezzanine is typically the best choice since it integrates with your existing setup and maximizes vertical space simply and efficiently. This makes installation quicker and more adaptable to changing storage needs.

If you’re in the market for a structural mezzanine, carefully analyze load capacity and floor conditions. A standard slab is six inches thick and includes some reinforcement for temperature and shrinkage. If you are unsure about the capacity of your floor slab, perform a slab and soil analysis. This will help you determine if the slab can support a structural mezzanine or not (or if additional footing may be needed).

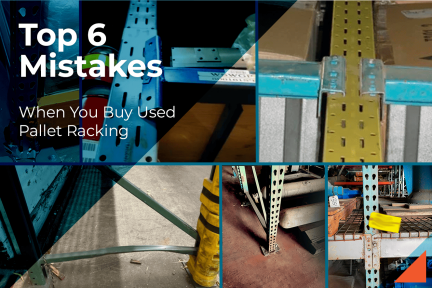
Not every warehouse is suited for a structural mezzanine because of local building codes and regulations. The International Building Code (IBC) has strict guidelines on mezzanine construction, including handrails, stair access, and beam strength. Mezzanines based on pallet racking are often easier to make compliant, as they are still integrated into existing warehouse layouts and fire safety plans. Therefore, check the readiness of your warehouse before creating a project.
Step 2: Design the Mezzanine
Needless to say, the more detailed your mezzanine design is, the fewer surprises you’ll encounter during installation and once it’s in use. So, try to consider these key factors when planning your project:

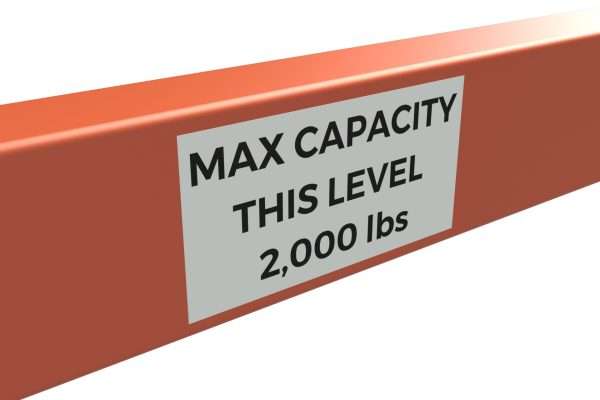
- Load requirements. Determine how much weight the mezzanine floor needs to support based on pallet storage needs.
- Column base plate sizing. Verify that mezzanine column base plates are appropriately sized relative to column loads and the floor slab’s capacity. However, keep in mind that if column loads are extremely high or the floor slab is too thin, even large base plates won’t eliminate the need for concrete footings. In the case of planning a structural mezzanine, a six-inch slab cannot support a mezzanine with 70,000 lbs—concrete footings would be required regardless of base plate size.
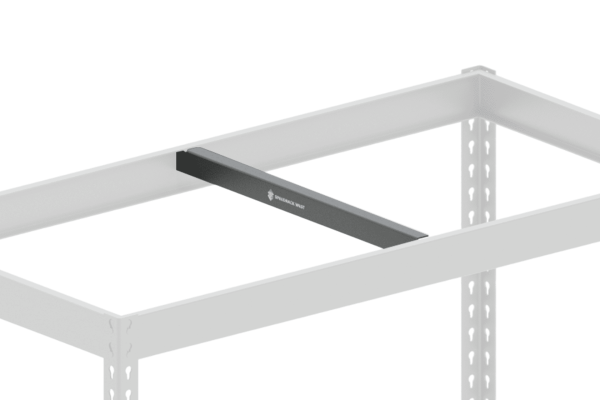
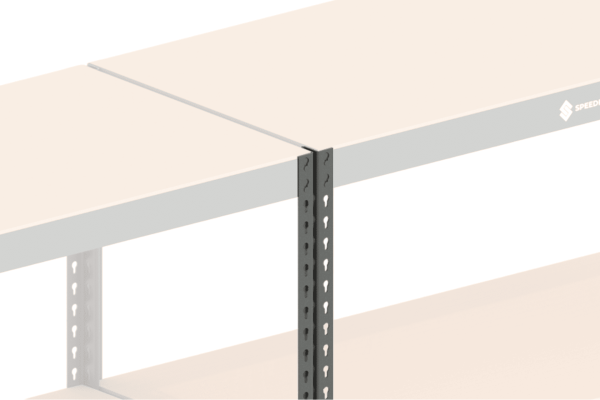
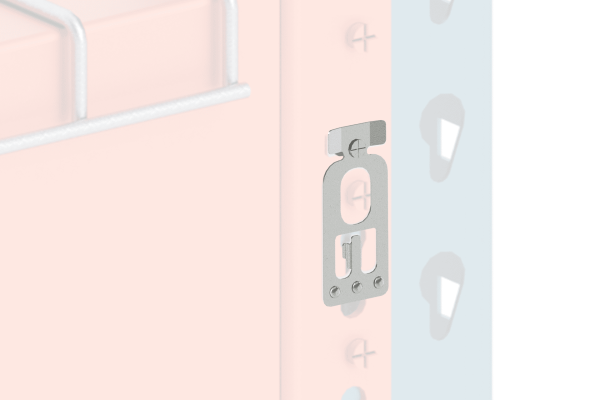
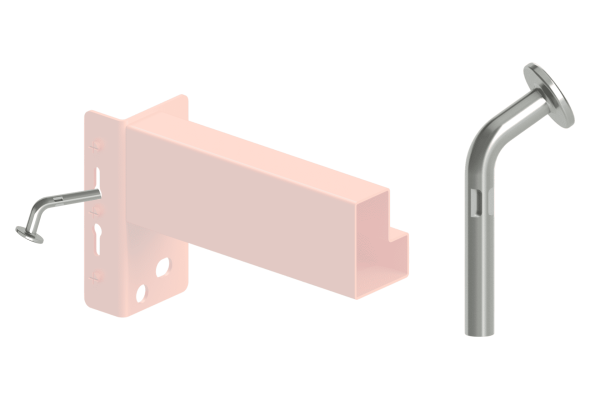
- Column layout considerations. Work with your mezzanine manufacturer to determine a column layout that meets your needs while considering both upper-level loads and lower-level functionality. Keep in mind that fewer columns result in higher individual column loads, increasing the likelihood of needing concrete footings. Weighting the trade-off between minimizing columns and the potential costs of additional footings can be challenging. In case you are going to work with a mezzanine based on pallet racking, inspect your current racks to be sure you can set a mezzanine level and load it. In both cases, consult a professional team to clarify all the points.
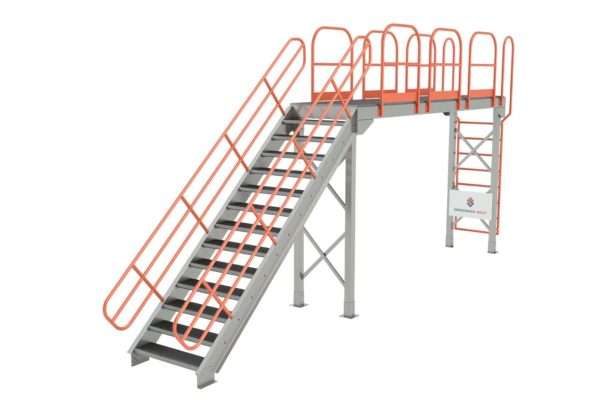
- Access points. Decide where to position stairs and whether an elevator or lift is necessary.
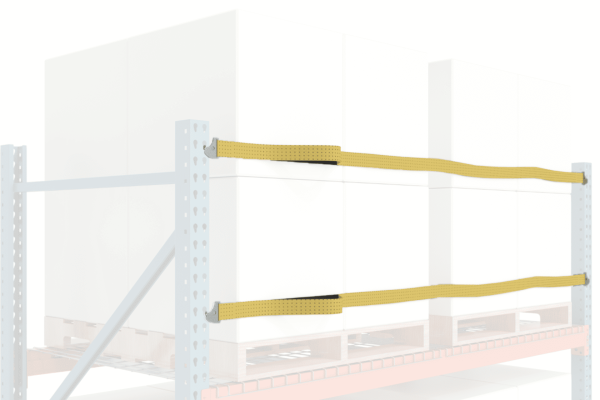
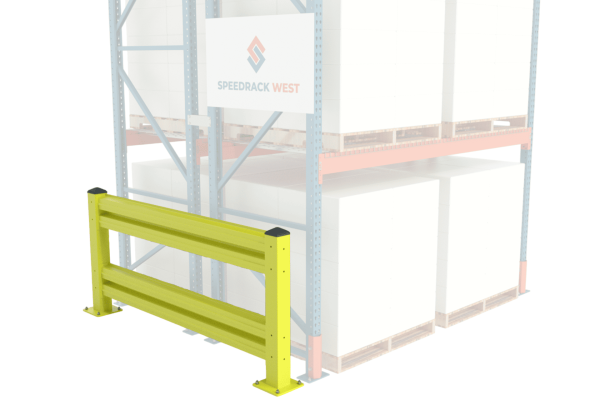
- Handrails and safety features. Plan for proper guardrails and edge protection to meet safety regulations.
Step 3: Budget, Time and Installation Cost
The costs of installing a mezzanine depend on materials, labor, and the project’s complexity. As a general rule, mezzanine based pallet racking is cheaper than structural alternatives because you are already using a racking system, it won’t have to be installed from scratch. This type of storage mezzanine provides an excellent return on investment by maximizing storage space without extensive remodeling. Plus, it’s a flexible solution—you can relocate, resize, or dismantle it as needed, keeping your investment working for you.
At the design stage, it’s essential to understand the total investment available. Sometimes, you may need a three-level mezzanine but only have the budget for one. That doesn’t mean you have to abandon your idea. A competent team can propose a step-by-step plan, allowing you to expand gradually and invest bit by bit. Use those opportunities sagely! Don’t squander them.
Step 4: Choose a Professional Team
Many YouTube videos suggest that installing a mezzanine is a simple DIY task, but in reality, it’s only feasible if you’re a team of experienced installers with a professional background.
Hiring a professional team guarantees the installation meets safety standards, is structurally sound, and minimizes operational downtime. Sure, you could do it yourself—but why take the risk?
How do you pick the right team? Here’s a little secret: if you send them a piece of paper with your layout as you envision it, and they respond with a clear understanding and specific questions, then you’ve found the right team.
You don’t need to search for a professional team any longer; we’re right here!
Step 5: Get Key Leadership Involved Early
Stay ahead of the game: Bring your team into the mezzanine planning or build-out process from the start. When everyone understands their role—and knows their input matters, from warehouse workers to upper management—you end up with a smoother project and better outcomes.
When leadership from different departments is involved, the design isn’t just based on one person’s vision. Operations teams can flag layout issues early. Accounting can weigh in on cost planning and budgeting. Sales and inventory leads can help define the space needs based on turnover and service goals.
Everyone sees things from a different angle—no one has the full picture on their own. But when we combine those perspectives, we get smarter ideas and stronger results. That’s how great teams work. Let’s build it together.
Products, discussed in the article
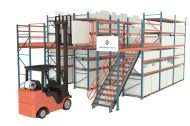
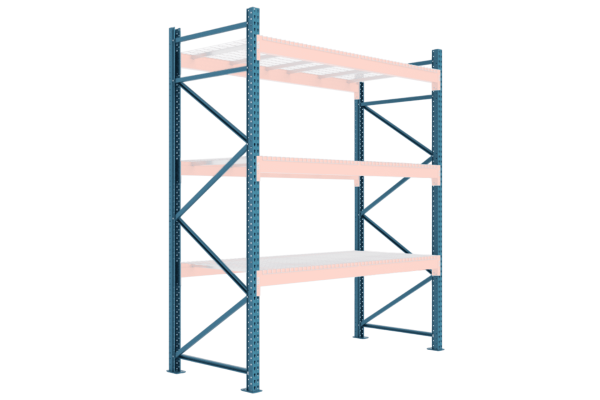
Mezzanine
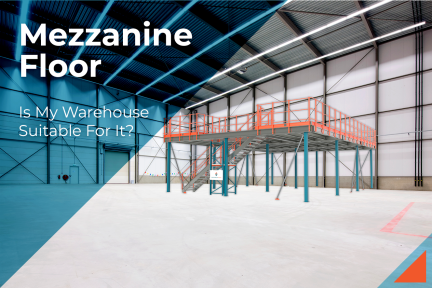
Is an elevated platform installed between the main floor and the ceiling of a warehouse, effectively creating an additional floor within the existing space. This structure utilizes vertical space to provide extra storage, office space, or work areas without the need for costly building expansions or renovations.
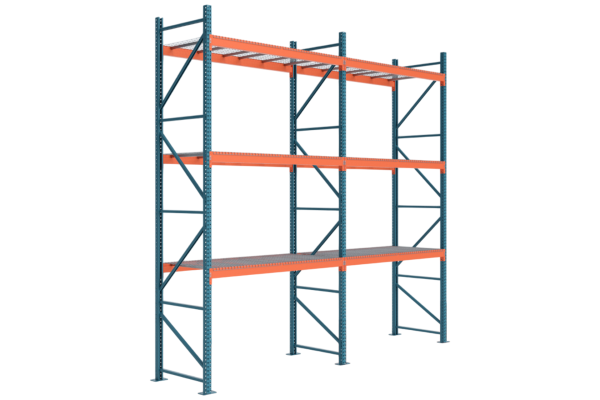
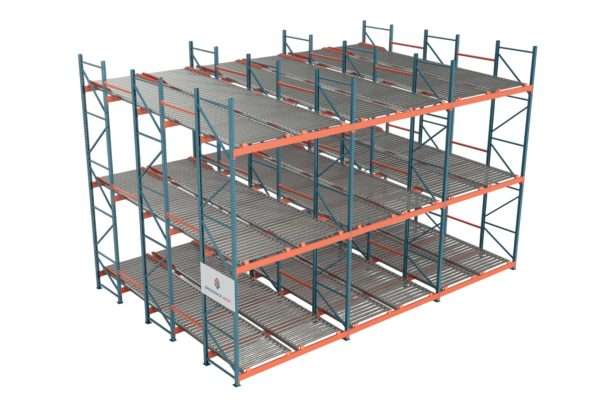
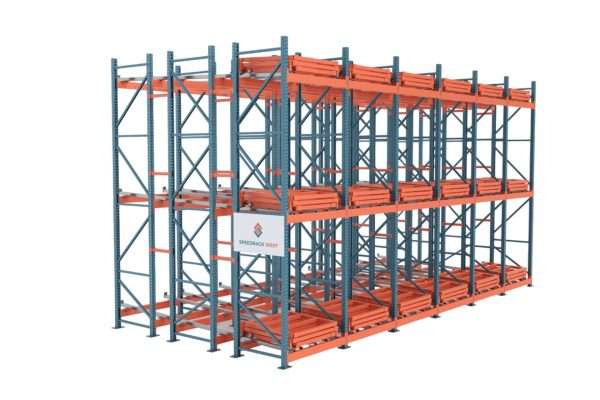
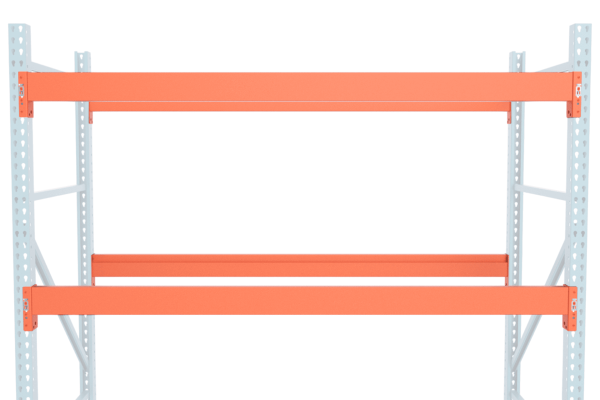
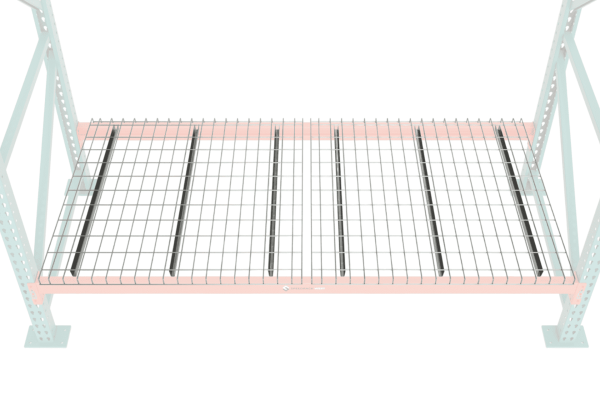
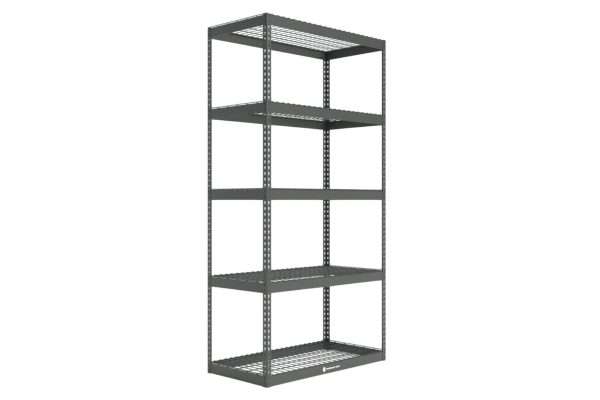
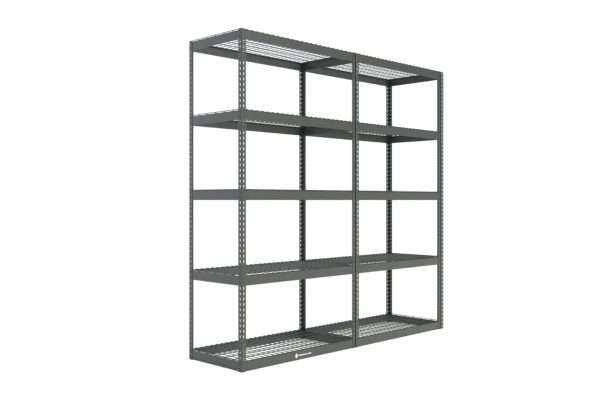
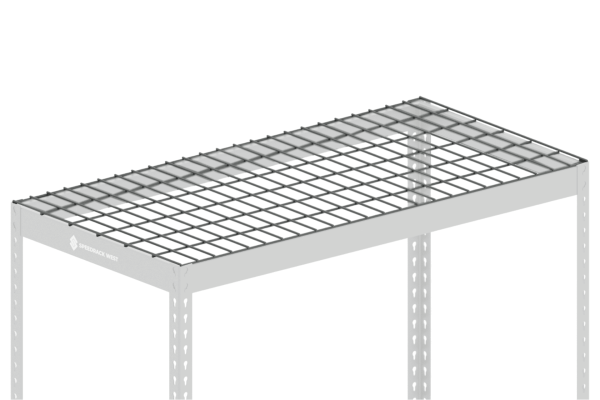
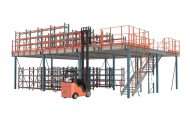
Pallet Rack-Supported Mezzanine
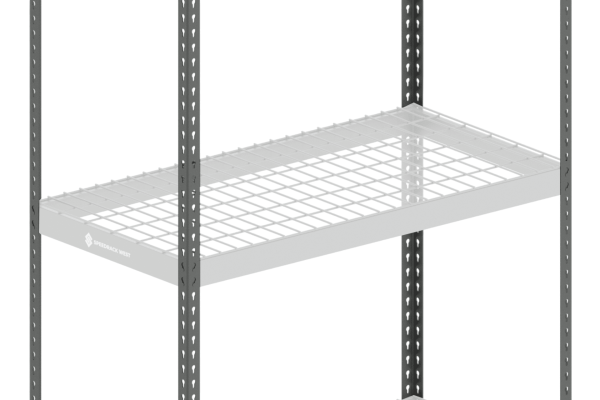
A multi-level storage platform built on top of existing pallet racking systems.
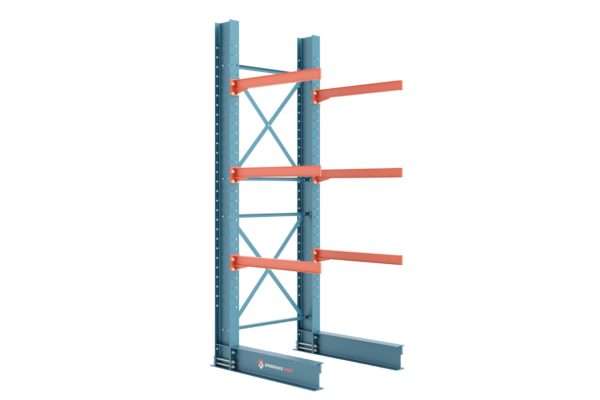
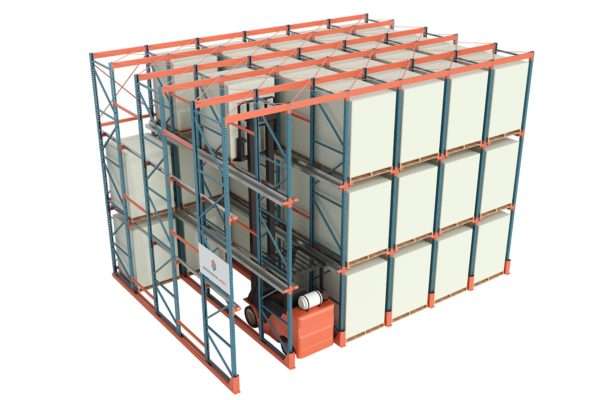
Structural Mezzanine
A raised platform built within a building, typically constructed from steel, that adds an extra level of usable space above the main floor.
Was this helpful?